


Wake the Grill, Wake the Flavor
Winter’s over. The cover comes off. The sun’s out. And your grill? It’s been sitting there, quietly collecting dust, ash, grease, and who-knows-what since the last cookout of last year. Before you throw on those first steaks of spring and declare grilling season officially open, there’s one crucial ritual every pitmaster, weekend warrior, and backyard BBQ hero needs to do:
Give your grill a proper spring deep clean.
This isn’t just about looks (though a clean grill is a thing of beauty). It’s about flavor, safety, performance, and extending the life of your grill. A deep clean removes old grease that can cause flare-ups, clears out ash that blocks airflow, and ensures your burners or vents are working exactly as they should. The result? Better heat control, cleaner smoke, and food that tastes the way it’s supposed to.
Let’s walk through exactly how to spring clean and prep your grill the right way, using the proper tools to make the job easier, faster, and more effective.
The Spring Grill Reset (Step-by-Step)
Why Spring Cleaning Your Grill Matters
After months of sitting idle, your grill collects grease, ash, carbon buildup, and debris. All of that impacts performance and flavor. A dirty grill heats unevenly, causes unpredictable flare-ups, and can even affect the taste of your food. Spring cleaning resets your grill so you can kick off the season strong.
Step 1: Clear Out Old Ash and Debris
If you’re using a charcoal grill or smoker, start by removing all the old ash from winter storage. Ash traps moisture, which leads to rust and airflow issues.
-
Empty the ash catcher
-
Brush out leftover ash from vents and corners
-
Wipe down the firebox
This improves airflow and helps your grill burn hotter and cleaner.
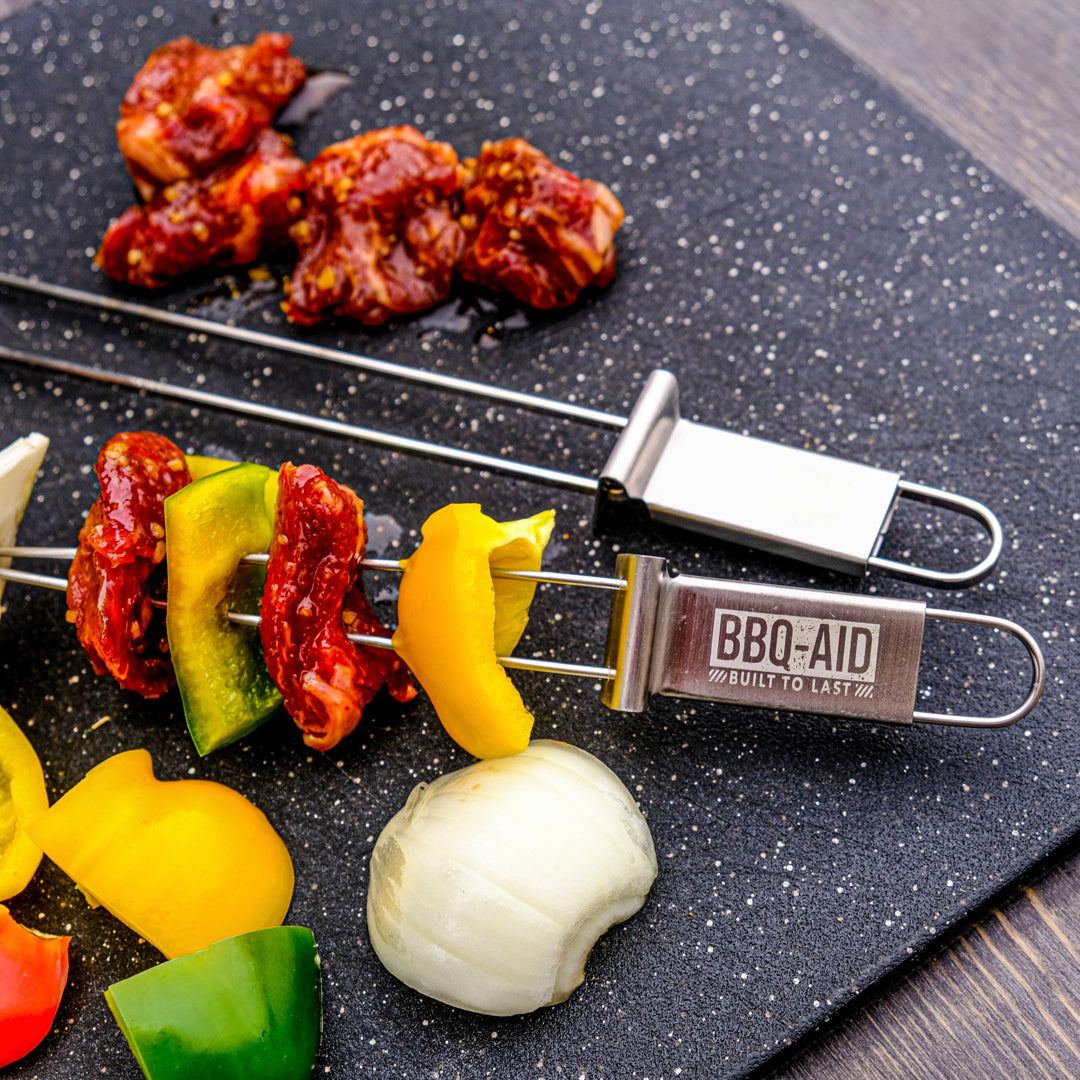
Step 2: Deep Clean the Grates (Where the Magic Happens)
Your grates are where flavor is built, and where grime loves to hide. This is where the right grill tools really matter.
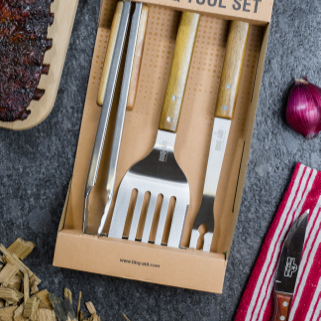
Use your cleaning lineup to handle every level of mess:
-
Bristle-Free Brush & Scraper – Perfect for everyday cleaning and tough, stuck-on residue. The scraper edge knocks off heavy buildup, while the bristle-free design keeps your grill and food safer. For an even deeper clean, pair it with our Dunk Basin, a quick soak helps loosen stubborn grease and grime before you scrub, making cleanup faster and easier.
-
All-Angles Brush – Gets into those hard-to-reach spots between grates, corners, and edges. Great for cleaning from multiple angles without having to remove the grates.
-
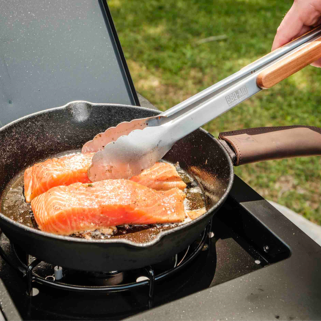
Grill Brush & Scraper – Your go-to for fast, effective scrubbing when you want a quick reset before or after a cook.
Fire the grill up for a few minutes, turn it off, then scrub while the grates are warm (not blazing hot). Warm grates release buildup way easier, saving you time and effort.
Step 3: Clean the Inside of the Grill
Once the grates are out of the way, take time to clean the interior walls and lid. Grease flakes and carbon buildup can fall onto your food during cooks.
-
Scrape off loose debris
-
Wipe down surfaces with a damp cloth
-
Use your All-Angles Brush to reach tight spots inside the lid and corners of the firebox
This step helps prevent old grease from causing flare-ups and smoke that can overpower your food.
Step 4: Gas Grill Owners: Inspect Burners and Gas Lines
If you’re running a gas grill, spring prep isn’t just about cleaning, it’s about safety.
-
Remove grates and heat tents
-
Check burner holes for clogs and gently brush them clean
-
Inspect gas lines for cracks or leaks
-
Make sure flames burn evenly across burners
A clean burner system means better heat control and more consistent cooking all season long.
Step 5: Clean the Outside (Because Presentation Counts Too)
Your grill’s exterior takes on smoke, grease splatter, and weather damage over time. A quick wash makes it look new again and helps protect the finish.
-
Wipe down the lid, shelves, and knobs
-
Use mild soap and water
-
Dry thoroughly to avoid rust spots
A clean grill just feels better to cook on.
Step 6: Reassemble, Oil, and Fire It Up
After everything is clean and dry:
-
Reassemble your grill
-
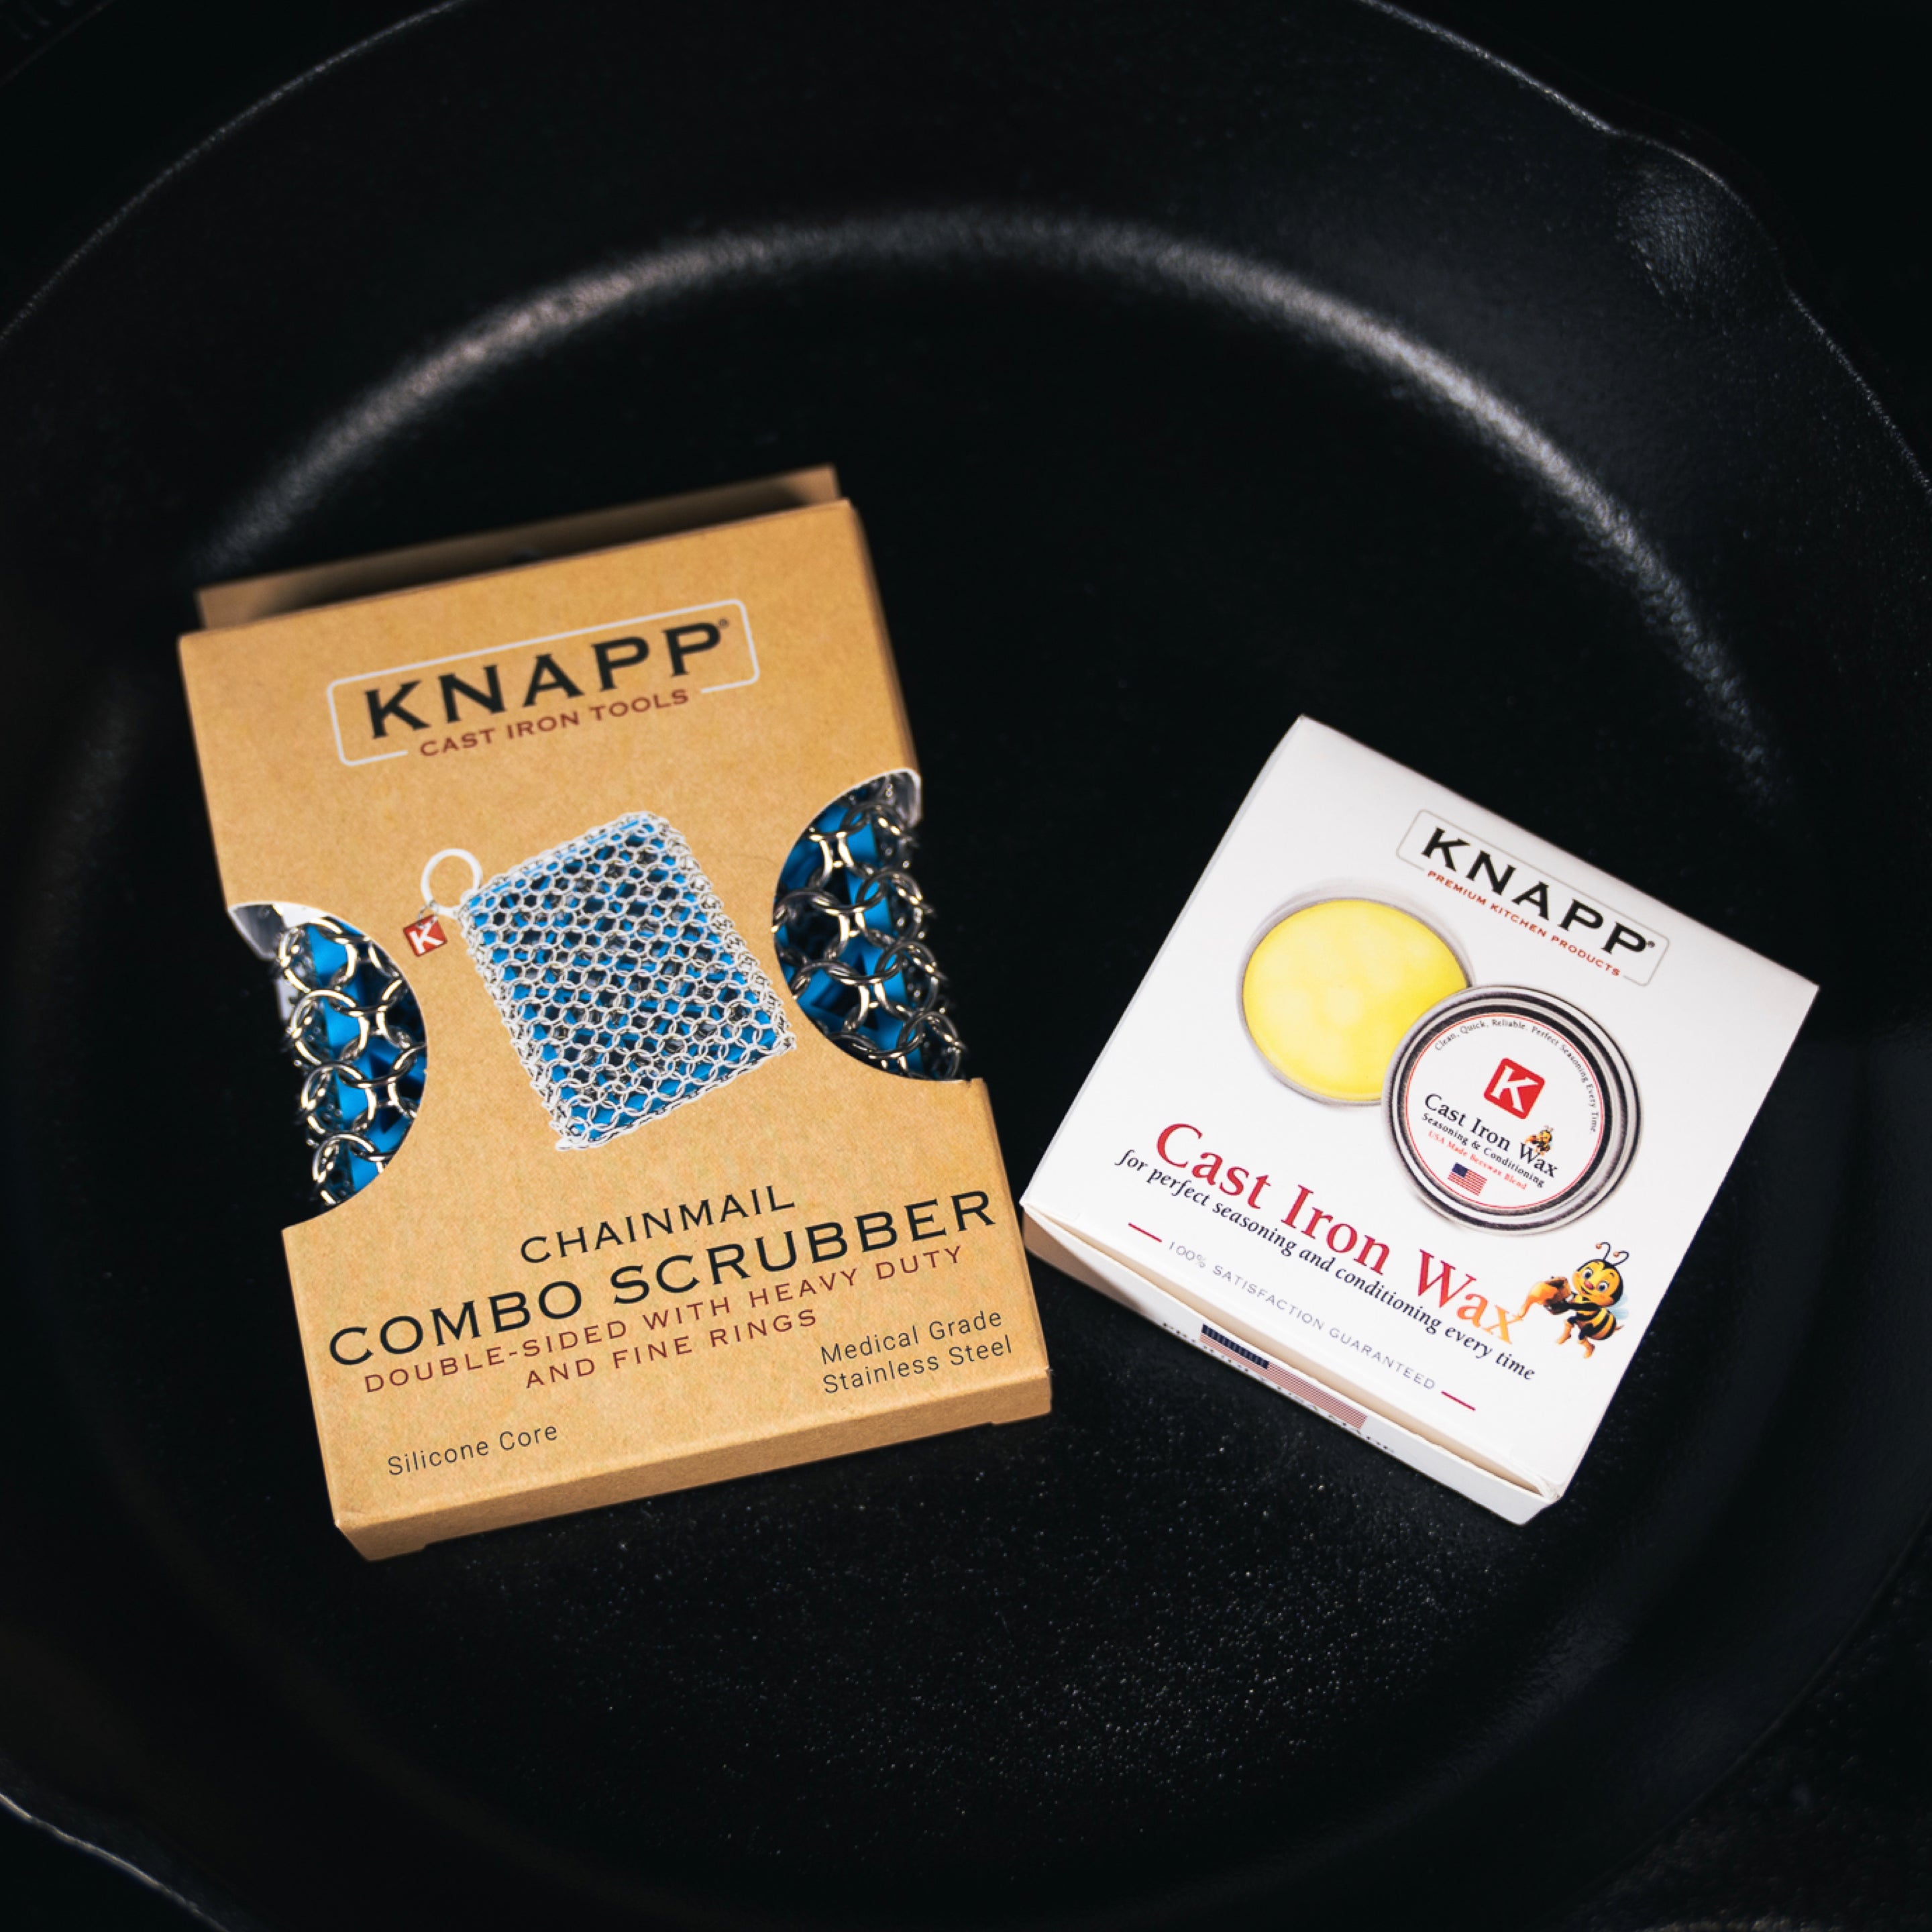
Lightly oil the grates to help prevent sticking and rust
-
Fire it up to burn off any leftover moisture
This final step gets your grill fully prepped for that first spring cookout.
Make Grill Cleaning Part of Your Routine
Starting the season with a deep clean sets you up for easy maintenance moving forward. With the right tools, your Bristle-Free Brush & Scraper, All-Angles Brush, and Grill Brush & Scraper, keeping your grill clean becomes part of the fun, not a chore. A quick brush after each cook keeps buildup from turning into a deep-clean nightmare later.
A Clean Grill Is the Start of a Great Season
There’s nothing like the first cook of spring on a freshly cleaned grill. The heat is even, the smoke is clean, and the flavors shine the way they should. A spring deep clean isn’t just maintenance, it’s the official kickoff to BBQ season.
So before you throw on those burgers, ribs, or steaks, take the time to reset your grill. Treat it right with the proper cleaning tools, and it’ll return the favor all season long, with better cooks, better flavor, and fewer frustrations.
Here’s to a fresh start, cleaner grates, and a spring full of legendary backyard BBQ. 🔥🍔